Building Young Engineers: A Practical Guide to Choosing Engineering Kits for Elementary School Kids
Introduction
In an age of screens and passive entertainment, engineering kits offer a refreshing hands-on experience that can spark a lifelong love of problem-solving and design. For elementary school kids—typically between the ages of five and twelve—these kits can be powerful tools for developing spatial reasoning, logical thinking, and persistence. However, walking into a toy store or searching online reveals an overwhelming array of options: snap-together circuits, wooden bridge sets, motorized robots, marble runs, and coding block sets. Many are well-made; some are little more than gimmicks. So how can a parent, teacher, or grandparent select the right engineering kit for a young learner? The answer lies not in picking the flashiest box, but in balancing several key factors: developmental appropriateness, safety, educational depth, openness, durability, budget, and the child’s own interests. This article breaks down each of these considerations to help you choose a kit that will truly build a young engineer’s confidence and curiosity.
Developmental Fit: Matching the Kit to the Child’s Age and Skills
The most common mistake in buying engineering kits is choosing something either too advanced or too simple for the child. A seven-year-old asked to build a complex robotic arm with tiny screws and precision gears will likely feel frustrated and abandon the project. Conversely, a ten-year-old given a set of oversize plastic blocks with a single instruction booklet may lose interest in minutes. The key is to find a kit that sits in the “just right” zone—challenging enough to engage, but manageable with some effort.
For children in kindergarten and first grade (ages 5–6), look for kits that focus on large, easy-to-grip pieces and simple connections. Magnetic tiles, oversized gears, and classic building blocks with wheels allow them to explore cause and effect—like why a tall tower falls or how a ramp makes a ball roll faster. At this stage, the goal is not precision but open-ended experimentation.
For second and third graders (ages 7–9), children can handle more detailed components, such as snap-together circuits, basic pulley systems, and kits with simple tools like a plastic wrench or screwdriver. They can follow multi-step pictorial instructions and often enjoy redesigning a project after completing it. Look for kits that introduce mechanical concepts like levers, axles, and inclined planes without requiring reading-heavy manuals.
For fourth and fifth graders (ages 10–12), true engineering kits become appropriate. These may include programmable robots, gearboxes, hydraulic lifts, or motorized vehicles. Children at this age can work with small parts, use software on a tablet, and debug problems systematically. However, it is still important to check the vagueness of instructions. The best kits for this age group combine clarity with flexibility, allowing the child to modify the original design or create something entirely new.
Safety First: Materials, Parts, and Certification
Engineering kits are meant to be handled, twisted, snapped, and sometimes even thrown in frustration. Therefore, safety is non-negotiable. Before purchasing, inspect the materials and construction quality. Avoid kits with sharp edges, brittle plastic that can crack into jagged shards, or metal pieces that are too heavy for a child to handle safely. For kids under eight, pay special attention to small parts that could pose a choking hazard. Even if the package says “for ages 6+,” be honest about your own child’s tendency to put things in their mouth.
A good safety signal is the presence of recognized certifications. In the United States, look for ASTM (American Society for Testing and Materials) or CPSIA (Consumer Product Safety Improvement Act) compliance. In Europe, check for CE and EN71 marks. These standards ensure the kit has been tested for lead paint, phthalates, and mechanical hazards. Furthermore, consider electrical kits—if they involve batteries, they should have a secure, screw-locked battery compartment that small hands cannot easily open. Many reputable brands also provide non-toxic, food-grade silicone or ABS plastics that are safe if accidentally chewed. While safety might seem like an obvious concern, it is worth refreshing: a great educational experience cannot happen if the child is unwell or injured.
Educational Depth: Beyond Fun and Games
While every engineering kit claims to be educational, some are just “build once and display” projects. A truly educational kit teaches a child to think like an engineer: to ask what, why, and how, to test ideas, make mistakes, and improve. When choosing a kit, look for evidence of learning goals. Does the set introduce a specific physical law, such as gravity, friction, or energy transfer? Does it encourage measuring, counting, or recording results? For example, a simple paper-cup-and-string telephone kit can teach about sound vibrations; a balloon-powered car kit can teach about thrust and aerodynamics.
Another marker of educational value is the inclusion of challenges or questions. Some kits come with a booklet that says: “Try building a bridge that can hold a dictionary” or “What happens if you use a longer axle?” These open-ended prompts transform the kit from a toy into a science lab. Additionally, check whether the kit aligns with recognized STEM (Science, Technology, Engineering, Mathematics) frameworks. Many high-quality kits mention NGSS (Next Generation Science Standards) or the Common Core math connections on their packaging. While alignment is not absolutely necessary, it signals that the designers have considered pedagogical progression. Finally, avoid kits that are purely about following instructions. If the only outcome is a fixed model—like a plastic bird that flaps its wings—the child learns a manual skill, not an engineering mindset. The best kits encourage modification: changing the angle, weight, or order of parts to see what happens.
Open-Ended Play vs. Structured Projects: Striking a Balance
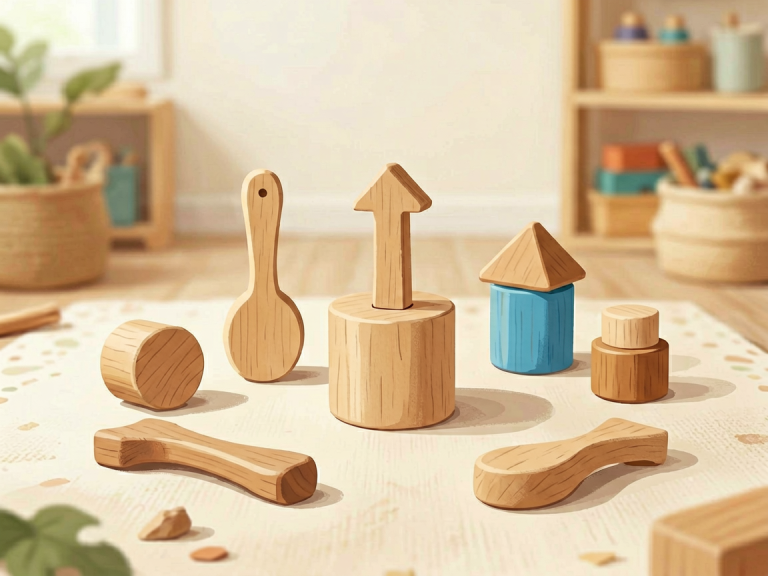
One of the oldest debates in educational toys is whether to choose open-ended materials like plain wooden blocks or structured kits with a specific final project. For elementary school kids, the answer is that both are valuable, and the best choice often depends on the child’s personality. Some children thrive on open-ended freedom. They will build a castle, then a spaceship, then a robotic pet with the same set. For them, an engineering kit that includes hundreds of generic pieces—gears, rods, connectors, and panels—provides endless possibilities. LEGO Classic sets, Magna-Tiles, and KNEX are classic examples. These kits do not come with a single fixed outcome; instead, they supply a vocabulary of parts and let imagination drive the design process.
Other children feel anxious when faced with a blank canvas. They prefer a step-by-step plan with a recognizable goal—a working drawbridge, a functional crane, or a light-up house. Structured kits, such as those from Thames & Kosmos, Snap Circuits, or LEGO Technic, often have multiple projects, each with clear instructions. This approach builds confidence because the child experiences the satisfaction of completing a working model. The best strategy is to start with a structured kit to teach the basic techniques, then encourage the child to modify the model. Look for kits that offer a “design your own” section at the end, or that include extra pieces beyond what is needed for the pictured projects. This hybrid approach—structured enough to guide, flexible enough to inspire—is the hallmark of an outstanding engineering kit.
Quality, Durability, and Expandability: A Kit Is an Investment
Engineering kits are rarely one-time purchases. They become parts libraries that children revisit over months or even years. Thus, durability matters. Cheap kits with thin plastic gears or fragile connectors will break after a few builds, causing tears and frustration. Before buying, read reviews or look for videos that show the kit being disassembled and rebuilt repeatedly. High-quality brands often offer replacement parts, which is a sign of long-term design and customer support. Also, consider the “expandability” of a kit. Does the manufacturer offer add-on packs, such as extra motors, sensors, or wheels? Can the kit be combined with other sets from the same brand? For instance, many building systems are compatible across age ranges, allowing a child to grow from simple blocks to advanced robotics using the same foundational pieces.
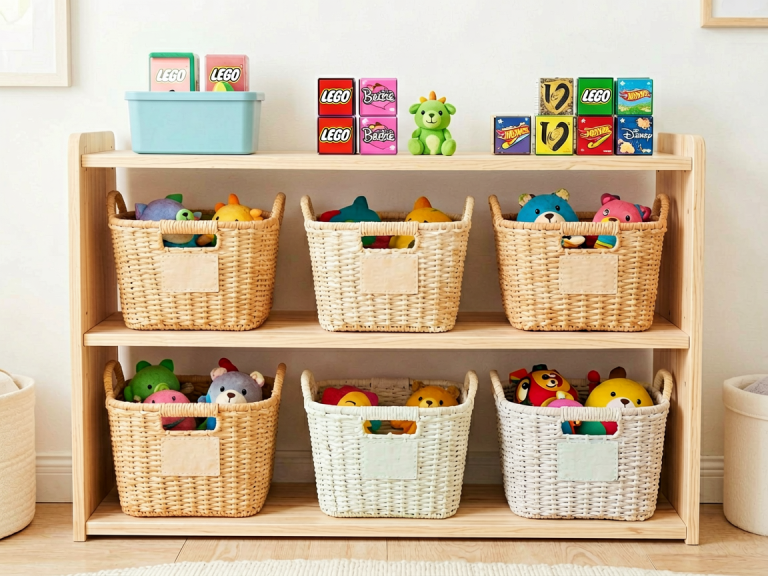
Durability also includes the storage and organization of the kit. A good kit should come with a sturdy storage box or tray that keeps pieces sorted. Losing a crucial gear can ruin the experience, so clear, labeled compartments help children maintain their inventory. Teaching kids to tidy up after building is an important engineering habit—engineers keep their workspaces managed so they can find the right wrench when needed. If the kit arrives in flimsy plastic bags, factor in the cost of buying a separate container. Over time, a well-made kit that stays intact is far more valuable than a cheaper version that ends up in the trash after three weeks.
Budget Wisely: Looking Beyond the Price Tag
Engineering kits can range from under $20 to over $300. Price does not always correlate with educational value. A simple $15 set of colorful ramps and balls can teach as much about gravity and geometry as a $200 robotic arm kit. To budget wisely, first decide what you want the child to learn. If you are new to engineering kits, start with one or two low-cost, open-ended sets to see what the child gravitates toward. Many children are satisfied with basic building bricks plus a few loose wheels and axles from a craft store. Once you identify their interest—whether it is robots, bridges, or electrical circuits—you can invest in a more specialized system.
Another budget consideration is the cost of additional materials. Some kits require batteries, which you must buy separately. Others may need consumable supplies like string, tape, or cardboard. Factor in these hidden costs. Also, look for kits that offer a high “playtime per dollar.” A durable kit that can be rebuilt in dozens of different configurations provides more value than a one-shot project kit. Finally, consider buying used engineering kits from online marketplaces or garage sales. Many families sell intact sets after their children outgrow them. Just make sure all pieces are present or that missing pieces can be easily replaced. In the long run, a moderate number of high-quality kits is better than a closet full of shiny but broken toys.
Let the Child Take the Wheel: Igniting Intrinsic Motivation
No matter how perfect a kit looks on paper, it will only teach if the child is genuinely interested. Therefore, the selection process should include the child’s voice as much as possible. Before buying, browse through product images and videos together. Ask your child questions like: “What do you want to make?” or “What kind of projects look fun?” Look for themes that match their existing passions. A dinosaur-obsessed first grader might adore a kit that builds a movable dinosaur skeleton. A future astronaut might love a solar-powered rover model. A child who enjoys cooking could learn about gears by building a hand-cranked mixer. The thematic connection makes the engineering process feel relevant, not like homework.
Involving the child in the choice has another benefit: it builds ownership and commitment. If the child picks a kit, they are more likely to persist through difficult steps because they feel responsible for their choice. Encourage them to read the packaging, estimate the difficulty, and even watch unboxing reviews. For older kids, involve them in setting a budget. Say, “We have $40 to spend on an engineering kit. What do you think is the best option?” This turns the shopping trip itself into a budgeting and critical-thinking exercise. Remember that the kit is a tool, not a destination. The ultimate goal is to develop a child who sees the world as a place full of solvable problems. When picking a kit, ask yourself: Will this empower my child to imagine, test, and improve? If yes, then you have made the right choice.
Conclusion
Choosing an engineering kit for an elementary school child is not about finding the most advanced gadget or the most popular brand. It is about matching the kit to the child’s developmental stage, ensuring safety, evaluating educational depth, balancing structure with open-ended play, investing in quality, and, above all, respecting the child’s interests. A well-chosen kit can teach a child that failure is just a prototype for success, that collaboration is part of invention, and that math and science are not abstract subjects but tools for making real things. So take your time, read the labels, look at the pieces, and most importantly, talk to your young engineer. When you find the right fit, you will see more than a child playing with a toy—you will see a mind in the making, one gear, beam, and bolt at a time.