The Ultimate Toy Rotation Checklist: A Complete Guide to Organizing Your Childs Play Space
Introduction
Every parent knows the feeling: stepping on a stray Lego brick, tripping over a stuffed animal, or spending twenty minutes searching for the missing puzzle piece while the child whines in the background. The playroom, once a source of joy, becomes a battlefield of clutter and chaos. But there is a solution that has been quietly transforming households around the world—toy rotation. At the heart of this method lies a simple yet powerful tool: the toy rotation checklist. This comprehensive guide will walk you through everything you need to know about creating, maintaining, and perfecting your own toy rotation system, ensuring that your child’s play space remains engaging, organized, and developmentally beneficial.
What Is Toy Rotation and Why Does It Matter?
Toy rotation is the practice of dividing your child’s toy collection into smaller groups and cycling them in and out of active play every few days or weeks. Instead of having every single toy available at once, only a curated selection is accessible, while the rest are stored away. The toy rotation checklist is the organizational backbone of this system—a document that tracks which toys are currently in use, which are in storage, and when the next swap should occur.
The rationale behind toy rotation is deeply rooted in child development research. Young children, especially toddlers and preschoolers, can become overwhelmed by too many choices. When a child sees a mountain of toys, their attention scatters; they often flit from one item to another without truly engaging. This phenomenon, known as “decision fatigue” or “choice overload,” actually reduces the quality of play. Conversely, when a child has access to a limited number of carefully chosen toys, they tend to play more deeply, creatively, and for longer periods. They invent new uses for familiar objects, develop problem-solving skills, and experience the satisfaction of mastery.
Beyond cognitive benefits, toy rotation also addresses practical household concerns. It reduces clutter dramatically, making cleaning up faster and less stressful for both parent and child. It extends the lifespan of toys because items are used less frequently and are less likely to be broken or lost. It also saves money—parents discover that children often ignore expensive toys when faced with too many options, but a “new” toy from the rotation bin can generate fresh excitement without any additional cost. The toy rotation checklist ensures that this system runs smoothly, preventing forgotten toys from languishing in storage for months and helping parents stay consistent.
The Core Components of an Effective Toy Rotation Checklist
A well-designed toy rotation checklist is more than just a list of toys; it is a strategic planning tool. To build one that works for your family, you need to include several key elements.
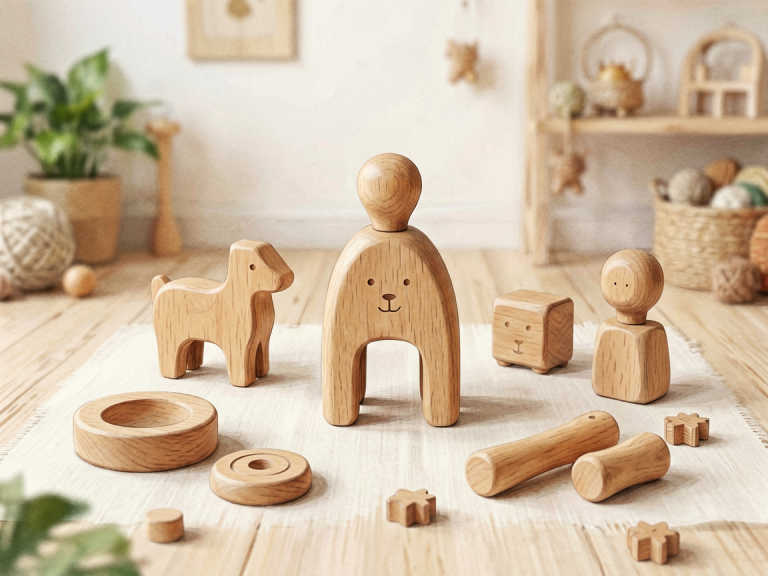
First, the checklist should have a categorization system. Toys can be grouped by type (building blocks, arts and crafts, pretend play, puzzles, vehicles, etc.), by developmental skill (fine motor, gross motor, language, sensory), or by interest areas (space, animals, music). Categorization helps you ensure that each rotation bin offers a balanced variety of experiences. For example, a single rotation might include one construction toy, one open-ended creative toy, one book, one puzzle, and one tactile sensory item.
Second, the checklist must track rotation cycles. This includes the date each bin was introduced, the planned duration before the next swap, and the actual date of the swap. A common cycle is every one to two weeks, though some families prefer weekly rotations for younger toddlers and monthly rotations for older children who engage in complex pretend play scenarios.
Third, include a location field for storage. Knowing exactly where each bin is stored—in the attic, under the bed, in a closet, or in a garage cabinet—prevents frantic searching. The checklist should also note whether the toys are in active play or in storage, with a simple status column.
Fourth, an effective checklist incorporates notes on child’s engagement. After each rotation, jot down which toys were a hit, which were ignored, and any observations about how the child interacted with them. Over time, these notes reveal patterns: perhaps your child always gravitates towards building toys during the first two days of a new rotation, or they avoid noisy electronic toys. This data informs future selections, making each rotation more tailored to your child’s evolving interests.
Finally, the checklist should include a maintenance section. Toys occasionally break, lose pieces, or become dirty. A column for “needs repair” or “missing parts” allows you to address issues before the next rotation. Similarly, a “sanitized” checkbox reminds you to clean plush toys or wipe down plastic items between rotations—especially important for infants and toddlers who put everything in their mouths.
Step-by-Step Guide to Creating Your Own Toy Rotation Checklist
Creating a toy rotation checklist from scratch might seem daunting, but breaking it down into manageable steps makes the process straightforward and even enjoyable.
Step 1: Conduct a Full Toy Inventory. Before you can rotate, you need to know what you have. Gather every toy from every corner of the house—the playroom, the bedroom, the living room, the car, even the grandparents’ house. Spread them out on a large surface and systematically list each item. Yes, every single piece. This step is crucial because it reveals duplicates (three identical fire trucks?), forgotten treasures, and toys that are beyond repair. Be ruthless: donate or discard anything broken, missing multiple pieces, or inappropriate for your child’s current age.
Step 2: Categorize and Size Your Rotation Bins. Based on your inventory, decide how many rotation bins to create. A good rule of thumb is to have three to five bins, depending on your storage space and how frequently you want to swap. Each bin should contain enough toys to fill about one to two hours of engaged play—typically eight to twelve items for a toddler, or five to eight more complex items for a preschooler. Sort the toys into categories, then distribute them across bins, ensuring each bin has a mix. Write the bin number or a label (e.g., “Bin A – Ocean Adventure,” “Bin B – Construction Zone”) on your checklist.
Step 3: Design the Checklist Template. You can use a physical notebook, a spreadsheet, or a dedicated app. The simplest format is a table with columns: Date, Bin Name/Label, Toy Name, Category, Status (Active/Stored), Child Engagement Notes, and Maintenance Needed. Leave room at the bottom for overall observations. If you prefer digital, a Google Sheets template allows easy sorting and sharing with other caregivers. Some parents also print a blank checklist and laminate it, using dry-erase markers for repeated use.
Step 4: Assign a Rotation Schedule. Decide on the cycle length. For beginners, a two-week rotation is often easiest to manage. Mark the start date for the first bin. Then, on your checklist, pre-fill the planned swap dates for the next several months—for example, Bin A starts January 1, swap to Bin B on January 15, swap to Bin C on January 29, and so on. This prevents the “I forgot to rotate” trap. If you have more bins, extend the cycle accordingly.
Step 5: Implement and Observe. Place the first bin’s toys in the child’s play area. Store the rest out of sight. During the rotation period, use the checklist to take quick notes: which toys your child returns to repeatedly, which are ignored, and any creative use you notice. Also note if your child seems bored before the rotation ends—it might signal that the bin needs more variety or that the cycle is too long.
Step 6: Reflect and Adjust. At the end of each rotation, review your notes. Swap the bin according to schedule, but tweak the contents based on observations. For example, if your child ignored all puzzles, replace them with more sensory toys next time. Over several rotations, you will refine your checklist into a personalized play prescription for your child.
Sample Toy Rotation Checklist Template
Below is a practical template you can adapt. Each row represents one toy, and each set of rows corresponds to a bin. Adjust columns as needed.
| Date Introduced | Bin Name | Toy Name | Category | Status | Child Engagement Notes | Maintenance |
|—————-|———-|———-|———-|——–|————————|————-|
| Jan 1 | Bin A – Sensory Fun | Rainbow stacking rings | Fine motor | Active | Played 15 min daily; loved stacking and knocking down | None |
| Jan 1 | Bin A – Sensory Fun | Playdough set (4 colors) | Creative | Active | Used with cookie cutters for 20 min on day 3 | Lid slightly cracked, replace soon |
| Jan 1 | Bin A – Sensory Fun | Soft fabric book | Language | Active | Flipped pages briefly; more interest in textures | None |
| … | … | … | … | … | … | … |
| Jan 15 | Bin B – Builder’s Paradise | Wooden block set (30 pieces) | Construction | Active | Built towers and houses; very engaged | One block missing, search in living room |
| Jan 15 | Bin B – Builder’s Paradise | Animal figurines (6 pieces) | Pretend play | Active | Used with blocks; created zoo scenarios | None |
Common Mistakes to Avoid in Toy Rotation
Even with a stellar checklist, toy rotation can fail if you fall into certain traps. Understanding these pitfalls will help you refine your system.
Mistake 1: Rotating Too Frequently or Too Infrequently. If you swap every three days, your child never gets the chance to form deep attachments or explore toys thoroughly. Play becomes shallow and transactional. Conversely, leaving the same bin for a month risks boredom and leads to the same clutter you were trying to avoid. The sweet spot is typically seven to fourteen days for most children under five, but watch your child’s cues.
Mistake 2: Making the Bins Too Large or Unbalanced. A bin with twenty toys defeats the purpose of rotation—it still overwhelms the child. A bin with only two toys may not sustain play for long. Also, avoid putting all high-energy toys in one bin (loud, active) and all quiet toys in another. Balance each bin with a mix of calm, focused activities and more active, physical ones, such as a puzzle paired with a ball.
Mistake 3: Ignoring Your Child’s Changing Interests. The toy rotation checklist is not set in stone. If your child suddenly becomes obsessed with dinosaurs, do not force them to play with the space-themed bin for two more weeks. Flexibility is key. You can swap early or modify bin contents mid-cycle. The checklist should serve as a guide, not a prison.
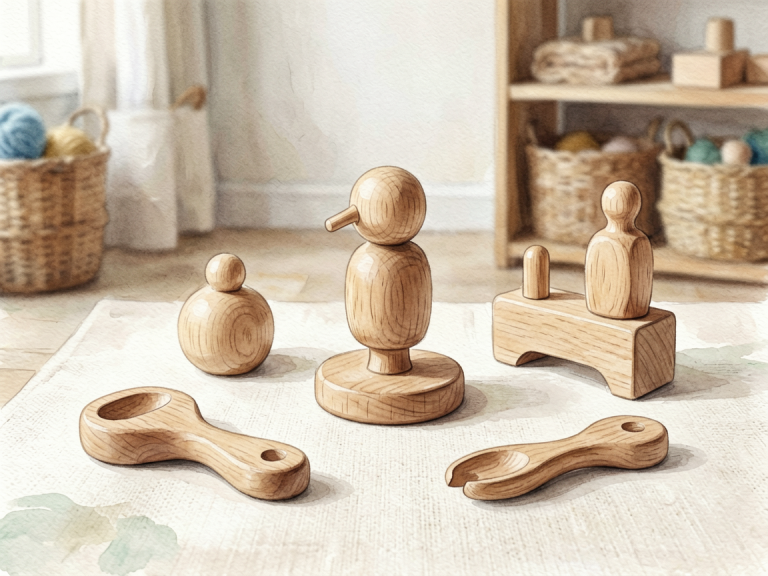
Mistake 4: Forgetting to Include Open-Ended Toys. Toys that can be used in many ways—blocks, simple dolls, art supplies, loose parts—tend to have longer staying power. Rotating only battery-operated, single-purpose toys quickly leads to stagnation. Ensure each bin includes at least two open-ended items.
Mistake 5: Not Involving Other Caregivers. If you are the only one using the checklist, the system collapses when you are sick, traveling, or busy. Share the checklist with your partner, grandparents, or nanny. Train them on the rotation process. A digital checklist synced to a shared account works wonders for consistency.
How to Involve Your Child in the Rotation Process
Toy rotation is not just a parent-driven chore; it can be a valuable learning opportunity for your child. Involving them fosters a sense of ownership, responsibility, and even excitement.
Start by explaining the concept in simple terms. Say, “We are going to give some of your toys a little vacation, so when they come back, they’ll feel new and fun again!” Young children enjoy the idea of toys “resting.” Next, let them help pack away the toys that are going into storage. Make it a game: “Can you put all the red toys in this basket?” This builds categorization skills and fine motor coordination.
When it is time to choose the next bin, allow your child to pick from two or three pre-selected options. This gives them a sense of control within the structured system. Also, encourage them to vote on which toys to keep in the active bin for a few extra days if they are particularly engaged. The checklist can include a child-friendly column with a star rating or smiley face next to each toy.
Celebrate swap day as a small ritual. Play special music, set a timer for five minutes of cleanup of the old bin, then unveil the new bin with a playful “Ta-da!” This turns rotation from a chore into a highlight of the week. Over time, your child will anticipate the swap and even remind you when it is time.
Adapting the Checklist for Different Ages and Stages
The toy rotation checklist is a flexible tool that should evolve as your child grows.
For Infants (0–12 months): Rotation cycles can be shorter—every three to five days—because babies’ attention spans are brief and their developmental leaps are rapid. Keep bins very small (three to five items) and focus on sensory exploration: rattles, teethers, soft books, high-contrast cards. Include a column for “safety check” because infants tend to mouth everything. Update the checklist frequently to remove toys that become developmentally outdated (e.g., a rattle that is no longer interesting once the baby can grasp objects).
For Toddlers (1–3 years): Toddlers thrive on repetition and routine, so a two-week rotation works well. Their bins should include items that support emerging skills: simple puzzles, shape sorters, pretend play props (a toy phone, a doll, a small kitchen set), and art materials like crayons and paper. The checklist should emphasize durability—toddlers are rough on toys. Note any broken pieces immediately.
For Preschoolers (3–5 years): Preschoolers benefit from themed rotations that align with their blossoming imaginations. A bin might be “Doctor’s Office” or “Space Mission.” Include more complex items: board games with rules, construction sets with small pieces (under supervision), and storytelling props. The checklist can now track skill progression—for instance, whether the child completed a 24-piece puzzle or built a tower of 20 blocks. Rotations can extend to three weeks because preschoolers engage in longer narrative play.
For School-Age Children (6+): At this age, children often have strong opinions and specific hobbies. Toy rotation can shift to project-based rotation. Instead of bins, create “activity boxes” that contain materials for a week-long project: a science experiment kit, a craft supply set, a Lego building challenge card. The checklist becomes more of a planner, tracking project completion and areas of interest.
Conclusion
The toy rotation checklist is far more than a mundane household list; it is a roadmap to calmer, more meaningful play. By thoughtfully curating your child’s toy environment, you reduce overwhelm, foster deeper concentration, and encourage creativity. The checklist ensures consistency, helps you track what works, and adapts as your child grows. Implementing this system does require an initial time investment—the inventory and bin setup—but the payoff is immense: a clutter-free home, a happier child, and a parent who no longer dreads the playroom. Start small. Pick one bin, create a simple checklist, and try one rotation. You will likely find that the benefits speak for themselves, and your only regret will be that you did not start sooner. So grab a notebook, a pen, and that pile of toys, and begin building your own toy rotation checklist today. Your child’s play—and your sanity—will thank you.