Playroom Organization Checklist: A Step-by-Step Guide to Creating a Functional and Joyful Space
A well-organized playroom is more than just a tidy room—it is a sanctuary for creativity, a launchpad for imagination, and a stress-free zone for both children and parents. However, maintaining order in a space filled with toys, books, art supplies, and stuffed animals can feel like an endless battle. The key lies not in a single heroic cleaning session but in a systematic, repeatable process. This comprehensive playroom organization checklist will guide you through every stage, from initial decluttering to long-term maintenance, ensuring that your playroom remains a place of wonder rather than chaos. Whether you are starting from scratch or revamping an existing space, follow these steps to transform your playroom into a model of efficiency and fun.
Step One: Declutter and Sort – The Foundation of Order
Before you can organize, you must clear out. Begin by emptying the entire playroom. Take everything off shelves, out of bins, and away from corners. This may seem overwhelming, but it gives you a blank canvas and forces you to evaluate every single item. Use this opportunity to teach your child about letting go of things they no longer need or love. Create four clearly labeled piles: Keep, Donate, Trash, and Relocate (items that belong in another room). As you sort, ask yourself: Is this toy still played with? Is it broken? Does it have all its pieces? Does it spark joy? Be ruthless—the goal is to reduce the volume by at least one-third. Remember, children thrive with fewer, higher-quality toys that allow for deeper engagement. Once you have sorted everything, only the Keep pile remains. Now you are ready for the next stage.
Step Two: Categorize and Contain – The Art of Grouping
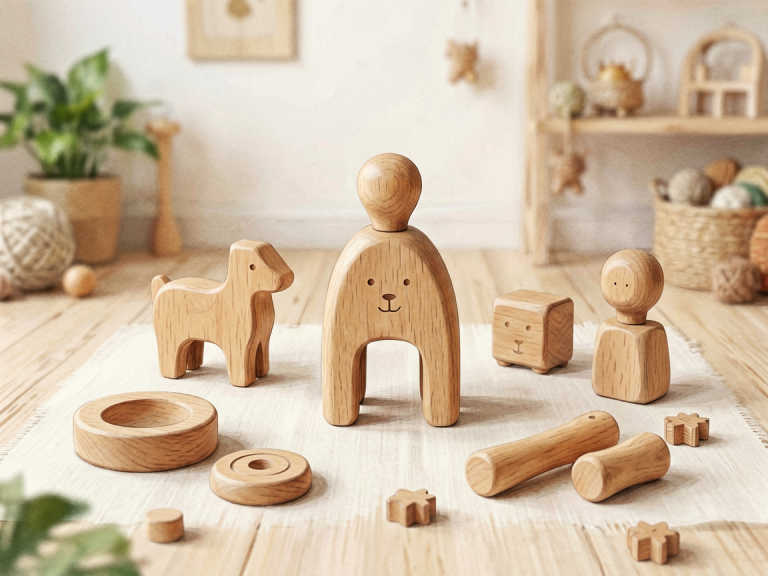
With the clutter removed, it is time to group remaining toys into logical categories. Common categories include: building blocks and construction toys, puzzles and board games, arts and crafts, dolls and action figures, vehicles, books, pretend play (kitchen, costumes, tools), and sensory toys (play dough, sand, water toys). Each category should have its own dedicated storage solution. Use clear, durable bins or baskets so children can see what is inside without dumping everything out. Open bins work best for frequently used items like blocks and cars, while lidded containers are ideal for small pieces or sets (e.g., LEGO, train tracks). For books, use forward-facing bookshelves that allow covers to be displayed; this invites reading and makes it easy to put books away. For art supplies, invest in a rolling cart with drawers or a caddy with compartments for markers, crayons, scissors, and glue. The golden rule: containers should be easy for little hands to open and close independently. Label each container with both words and pictures (for pre-readers) using a label maker or simple printable tags. This not only helps children know where things belong but also turns cleanup into a matching game.
Step Three: Zone the Room – Creating Purposeful Areas
A well-zoned playroom empowers children to engage in different types of play without distraction and makes cleanup intuitive. Divide the room into distinct zones based on activity type. Common zones include:
- Quiet Zone: A cozy corner with a soft rug, floor pillows, and a small bookshelf for reading, puzzles, and calming activities. This area should be free from loud or chaotic toys.
- Active Zone: The largest area for building, racing cars, or playing with large floor toys. Use a low table or a large mat to define the space.
- Creative Zone: Near a washable surface or an easel, with art supplies stored in a caddy on the table or a nearby cart. Include a drying rack for artwork.
- Dramatic Play Zone: A designated spot for dress-up clothes, a play kitchen, or a puppet theater. Use a garment rack or a chest for costumes, and a play kitchen with realistic food storage.
- Sensory Zone (optional): A small table or tray for play dough, sand, or water play, ideally near a hard floor for easy spills cleanup.
Within each zone, arrange storage so that items are stored where they are used. For example, art supplies should live near the creative zone, not across the room. Use furniture to visually separate zones: a low bookshelf can act as a divider between the quiet and active areas. Ensure pathways are clear so children can move between zones safely. Finally, create a “home base” for each category by using labeled bins; this reinforces the zone concept and makes cleanup a breeze.
Step Four: Label Everything and Create a Visual Map – Empowering Independence
Labels are the secret weapon of a sustainable playroom system. They should be clear, consistent, and child-friendly. Use a combination of text and simple icons or photographs. For younger children, cut out pictures of toys from catalogs or take photos of actual items, print them, and attach them to bins. For older children, use a label maker with large, easy-to-read fonts. Label not only containers but also shelves and zones themselves. For example, put a picture of a dump truck above the bin where trucks are stored. Additionally, create a visual “playroom map” or a checklist poster that shows the layout of the room and where each category belongs. Laminate it and hang at child-eye level. Before leaving the room, children (with your guidance) can look at the map and ensure every toy has returned to its correct home. This builds responsibility and reduces the need for you to nag. A small reward system, like a sticker chart for daily cleanup, can reinforce the habit.
Step Five: Implement a Rotation System – Keeping Play Fresh
Even the most organized playroom can become stale if children are inundated with the same toys every day. A toy rotation system prevents boredom and reduces clutter. Choose 5 to 7 “active” categories to keep in the playroom at any one time. Store the rest in a closet, basement, or under the bed in clear, labeled bins. Every two to four weeks, swap out one or two categories with stored toys. For example, remove the train set and bring out the marble run. The excitement of rediscovering “new” toys is immense, and it encourages deeper play with fewer options. Maintenance tip: when you bring out a stored bin, check if any pieces are missing or broken. Discard or replace them before adding to the playroom. This rotation system also makes seasonally appropriate toys (e.g., water toys in summer, puzzles in winter) available at the right times. For children with special interests, keep a small rotating shelf of preferred items while regularly introducing novel ones. Over time, this practice will dramatically reduce the feeling of being overwhelmed by choice.
Step Six: Safety Check and Childproofing – Non-Negotiable Priorities
No playroom organization checklist is complete without a thorough safety review. Every storage solution should be stable and tip-proof. Anchor bookshelves, dressers, and tall cabinets to the wall, especially if your child is a climber. Choose bins without sharp edges or small lids that could be choking hazards. For toys with batteries, ensure battery compartments are secured with screws. Keep all art supplies (glue, scissors, markers) in a locked cabinet or on a high shelf if you have toddlers. Regularly check for broken toys, loose parts, or splintered wood. Also inspect the room for sharp corners—add corner guards to furniture. Electrical outlets should have covers, and cords from lamps or electronics should be tucked away. Finally, consider the floor covering: soft foam mats or a low-pile rug with non-slip backing can cushion falls. Evaluate the room’s lighting—natural light is best, but if using lamps, ensure they are out of reach. Perform this safety check every month, because children grow and new hazards can appear. A safe room is a peaceful room.
Step Seven: Establish Daily and Weekly Maintenance Routines – Long-Term Success
The final and most crucial step is building habits. Without ongoing maintenance, even the best-organized playroom will unravel. Create a simple, age-appropriate cleanup routine. For toddlers, make it a game: set a timer for 5 minutes, sing a cleanup song, or race to see who can put away ten items first. For school-age children, assign specific zones to each child and rotate responsibilities. At the end of each day, spend 10 minutes doing a “power tidy”: return all stray items to their labeled bins, fluff pillows, and sweep the floor. Once a week, do a deeper reset: go through each zone, check that labels are intact, remove any items that have migrated from other rooms, and do a quick assessment of what is no longer played with (and thus ready for donation or rotation). Every month, repeat the full checklist from Step One—especially decluttering and rotating toys. This might sound like a lot, but once the system is in place, each session takes less than half an hour. The payoff is enormous: your child develops organizational skills, independence, and respect for their space, while you enjoy a home that stays tidy without constant nagging.
Conclusion: The Checklist as a Living Document
A playroom organization checklist is not a one-time project—it is a living document that evolves with your child’s age, interests, and the seasons. The steps outlined above—decluttering, categorizing, zoning, labeling, rotating, safety checking, and maintaining—form a cycle that, once started, becomes second nature. Remember that perfection is not the goal. Some days the playroom will look like a tornado hit it, and that is perfectly fine if the underlying system allows for quick recovery. The true measure of success is not how tidy the room is at 5 p.m., but how easily your child can find what they need, how joyfully they create, and how peacefully they transition to cleanup. So print out this checklist, post it on the wall, and share the responsibility with your little ones. With each step, you are not just organizing toys—you are teaching life skills, fostering independence, and making room for more imagination. Happy organizing