A Comprehensive Guide on How to Check Outdoor Toys: Ensuring Safety, Longevity, and Fun
Introduction
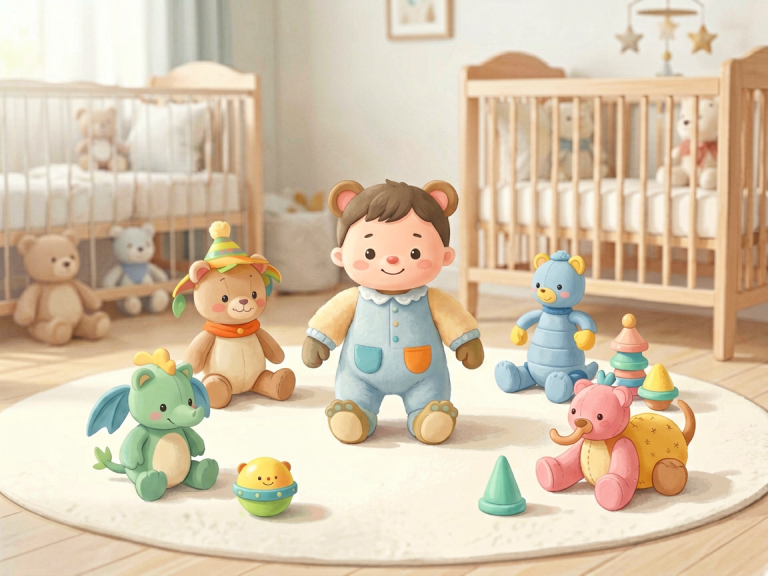
Outdoor toys are the unsung heroes of childhood—they fuel imagination, promote physical activity, and create lasting memories under the sun. From swings and slides to trampolines and ride-on cars, these playthings endure rain, mud, UV rays, and the relentless energy of children. But with great fun comes great responsibility. A broken hinge, a cracked plastic seat, or a frayed rope can turn a joyful afternoon into a trip to the emergency room. This is why learning how to check outdoor toys systematically is not just a chore; it is an essential act of care. In this guide, we will walk through a thorough, step-by-step inspection process that covers visual, structural, mechanical, and hygienic aspects. By following these steps, you can extend the life of your toys, prevent accidents, and ensure that every play session remains safe and delightful.
Why Checking Outdoor Toys Matters
Before diving into the “how,” it is important to understand the “why.” Outdoor toys are exposed to harsh elements—constant sunlight can degrade plastics, moisture can rust metal components, and soil can harbor bacteria. Moreover, active play subjects toys to repetitive stress; a small crack today can become a sharp edge tomorrow. According to the U.S. Consumer Product Safety Commission, thousands of children are treated annually for injuries related to playground equipment and outdoor toys. Many of these incidents could be prevented with regular inspections. Additionally, a well-maintained toy saves money by avoiding premature replacement and reduces environmental waste. In short, checking outdoor toys is a simple, proactive habit that protects your children, your wallet, and the planet.
Pre-Check Preparation: Gather Your Tools and Set the Scene
A proper inspection requires organization. Start by gathering a few basic tools: a flashlight, a screwdriver (Phillips and flathead), a wrench or socket set (if dealing with bolts), a pair of pliers, a clean cloth, a bucket of soapy water, a soft brush, and gloves. For electrical toys (like battery-powered cars), you may need a multimeter. Choose a dry day with good lighting. Clear the area around the toy so you can move freely. If the toy is large, like a playset, enlist another adult to help stabilize it during inspection. Remember safety first: wear closed-toe shoes and avoid loose clothing that could snag.
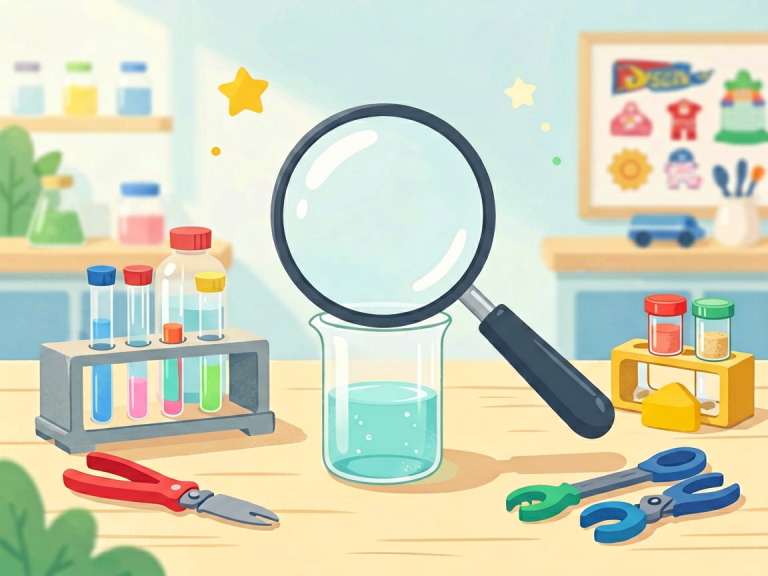
Visual Inspection: The First Line of Defense
Start by walking around the toy and observing it from all angles. Do not touch anything yet—just look. Are there obvious signs of damage? Look for cracks, splits, or holes in plastic parts, especially at stress points such as the base of a slide or the handlebars of a tricycle. Check for rust or corrosion on metal components, especially on chains, bolts, and springs. Examine wood elements, if any (e.g., on a swing set), for splinters, rot, or warping. Pay close attention to ropes and straps—fraying, discoloration, or stretching are red flags. Also note any missing parts: a lost cap on a bolt, a missing step, or a detached seat. Use your flashlight to peer into dark crevices, like the underside of a climbing structure or the axle of a wheeled toy. Take photos of any suspicious areas for later reference.
Structural Integrity Check: Test the Bones
After visual inspection, move to hands-on testing. For stationary structures like jungle gyms or swing sets, try to gently shake the frame. If it wobbles or moves more than an inch, the anchoring or fasteners may be loose. Check all bolts, screws, and nuts—tighten any that are not secure, but be careful not to over-tighten and strip the threads. For swing sets, inspect the swing hangers and chains: lift and rotate the swing to feel for unusual play. The chains should not have stretched unevenly. For slides, test the stability of the ladder rungs and the slide bed itself. A slide should not flex dangerously when a child climbs on it. For trampolines, examine the frame, legs, and net enclosure. Push on the mat to ensure it has proper tension—if it feels saggy or has visible holes, it is unsafe. For ride-on toys, lift and shake the vehicle; check the steering column, wheels, and axle. If you hear clicking or grinding, bearings may be worn.
Moving Parts and Mechanisms: The Gears of Fun
Moving parts are the most prone to wear and the most likely to cause injury. For toys with wheels—bicycles, scooters, tricycles, go-karts—rotate each wheel slowly. Listen for squeaks, grinding, or scraping. Check wheel bearings: the wheel should spin freely without wobble. Inflate tires to the recommended pressure (check the sidewall) and inspect for cuts, bulges, or dry rot. For toys with pedals or handlebars, test the full range of motion. Crank arms should not have excessive play. For toys with mechanical features, like a seesaw or pivot mechanism, apply pressure gradually. A seesaw should move smoothly and stop evenly. If it jerks or sticks, the pivot point may be worn or corroded. For battery-powered cars, press the accelerator and brake pedals—they should engage smoothly without sticking. Also, check the steering mechanism: turn the wheel lock-to-lock and feel for binding.
Surface and Coating Inspection: Touch and Feel
Now, get down to the grime level. Run your bare hand over all surfaces that a child will touch—handlebars, seats, climbing grips, slide surfaces. Are there sharp edges, burrs, or rough patches? Even small imperfections can cause scrapes and splinters. For painted or coated surfaces, check for chipping or peeling paint. Lead-based paint is a concern for old toys, but even modern coatings can create choking hazards if flakes are ingested. For rubber grips, squeeze them to see if they are cracked or hardened. For foam toys (like pool noodles or play mats), press your fingers into the material—if it crumbles or leaves residue, it is degrading and should be replaced. Don’t forget the ground underneath: for stationary toys, check that the impact-absorbing surface (like rubber mulch or foam tiles) is intact and covers the fall zone.
Cleaning and Sanitizing: A Health-Critical Step
Outdoor toys host a surprising amount of bacteria, mold, and allergens. Even if the toy looks structurally sound, it can become a health hazard. Cleaning is not just about aesthetics—it is part of the check. Prepare a solution of mild dish soap and warm water. Use a soft brush to scrub all surfaces, paying special attention to crevices where dirt accumulates. Rinse thoroughly with a hose. For high-touch areas like handles, seats, and steering wheels, follow with a disinfectant wipe or a diluted bleach solution (1 tablespoon bleach per gallon of water) for non-porous surfaces. Rinse again after disinfecting. For fabric components (e.g., swing seat covers, netting), check the manufacturer’s care instructions. Machine wash if possible, or hand-wash with soap and air-dry in the sun. Sun exposure is a natural sanitizer, so leave plastic toys in direct sunlight for an hour after cleaning to kill residual germs.
Electrical and Battery Components: Power with Caution
If your outdoor toy is battery-powered or has lights, electrical safety is non-negotiable. First, remove the battery (if possible) before inspecting. Check the battery compartment for corrosion—white or greenish deposits indicate leaking. Use a cotton swab dipped in vinegar to neutralize alkaline corrosion, then dry thoroughly. Inspect wires and connectors for fraying, cuts, or exposed copper. A multimeter can verify voltage; if the battery voltage is significantly below the rated level, replace it. For toys with motors (e.g., electric ride-ons), listen for unusual noises when running—grinding may indicate gear wear. Test all switches and buttons; they should click firmly and not stick. Never allow children to play with toys that have damaged electrical components, as moisture can cause short circuits or shock hazards.
Storage and Weatherproofing: Protecting Your Investment
A thorough check should also consider how the toy is stored when not in use. Even if the toy passes all structural tests, improper storage can degrade it quickly. For plastic toys, UV exposure is the main enemy—over time, UV radiation makes plastic brittle. If the toy is meant to be left outdoors, check if it came with a cover or if you can fashion one. For metal toys, moisture is the nemesis; store them under a roof or apply a rust inhibitor spray on joints. For inflatable toys (bouncy castles, pools), check for leaks by inflating and listening or using soapy water. After use, dry them thoroughly before folding to prevent mold. For wooden toys, apply a weatherproof sealant annually. Also, consider the climate: in cold winters, storing toys indoors or in a shed extends their life dramatically.
Seasonal Checks and Maintenance Schedule
A single check is not enough; outdoor toys need regular attention. Create a simple schedule: a quick visual check before each play session (spot cracks, loose parts), a more thorough monthly inspection (tighten bolts, clean, test mechanisms), and a deep annual inspection (disassemble, replace worn parts, refinish wood). Mark your calendar or set a phone reminder. After a storm or heavy snowfall, do an extra check—wind can loosen parts, and snow weight can stress frames. If you move to a new house, inspect the entire playset after reinstallation. Also, encourage children to tell you if something feels “wrong” with a toy. Their instincts are often correct.
Conclusion: A Habit That Pays Off in Smiles
Checking outdoor toys is not merely a maintenance task—it is an expression of love. By investing a little time each month, you create a safe environment where children can explore, climb, and race without fear. You also save money, avoid waste, and teach your kids the value of care and responsibility. The process may seem lengthy when described, but it quickly becomes second nature. Grab that flashlight, put on your gloves, and run through the steps: visual, structural, mechanical, surface, clean, electrical, storage. Each step is a brick in the foundation of carefree, joyful play. In the end, when you see your child laughing on a slide that you know is secure, you will understand that every inspection was worth it. Happy checking, and even happier playing!