The Ultimate Guide to Managing Toy Labels: From Chaos to Clarity
Introduction
In a world where children accumulate dozens—if not hundreds—of toys over the years, the humble toy label often goes unnoticed. Yet, for parents, educators, toy collectors, and retailers, managing toy labels effectively can make the difference between a tidy playroom and a chaotic mess, a smooth return process and a frustrating dead end, or a valuable collection and a pile of forgotten plastic. Toy labels are not just stickers; they carry crucial information: age recommendations, safety warnings, brand names, materials, barcodes, and sometimes even sentimental value. Learning how to manage these labels properly saves time, reduces stress, and ensures that toys remain safe, organized, and enjoyable. This article provides a comprehensive, step-by-step approach to managing toy labels in various contexts, complete with practical strategies and digital tools.
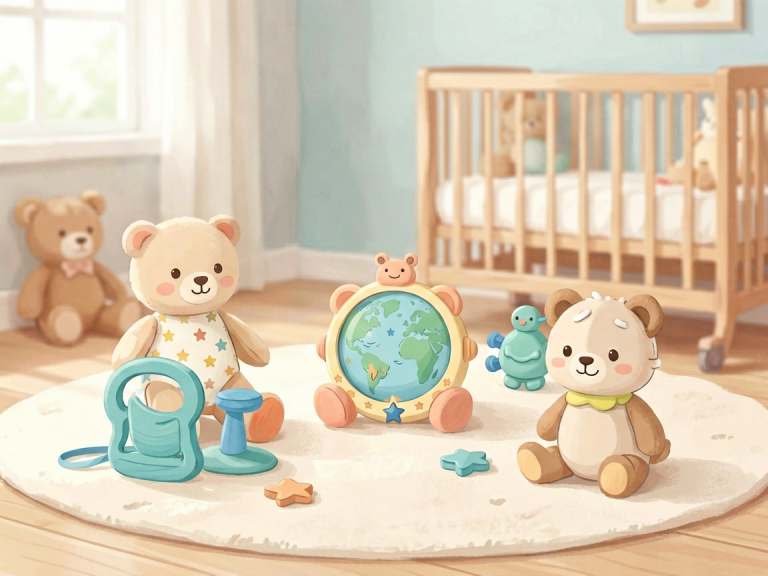
Why Toy Labels Matter: More Than Just Decoration
Before diving into management techniques, it is essential to understand the multifaceted role of toy labels. First, safety labels—such as those indicating choking hazards, chemical content, or age suitability—protect children from harm. Mismanaging or removing these labels can lead to accidents. Second, brand and model labels are vital for warranty claims, recalls, or resale value. Third, for parents, labels help categorize toys (e.g., "educational," "outdoor," "electronic") to promote organized rotation and age-appropriate play. Finally, in retail environments, labels drive inventory accuracy, pricing, and customer satisfaction. Recognizing this value is the first step toward implementing a systematic management approach.
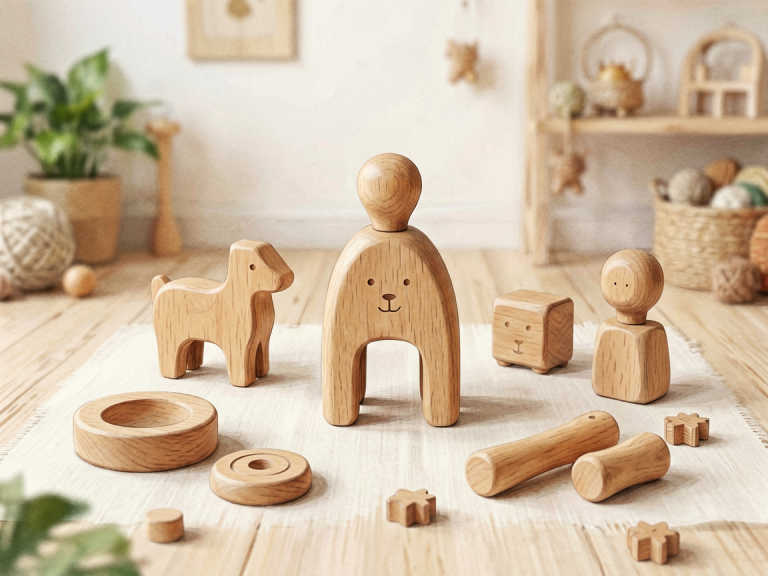
Organizing Toy Labels at Home: A Parent’s Practical Guide
1. The Label Audit: What Do You Have?
Begin by gathering all toys in one area and inspecting their labels. Some may be faded, torn, or completely missing. Create three piles: toys with intact and legible labels, toys with partially damaged labels, and toys with no labels at all. For the second pile, take a photo of any readable information. For the third, use online resources or manufacturer websites to identify the toy and print replacement labels if necessary. Document everything in a simple spreadsheet—include toy name, brand, purchase date, age range, and any special instructions. This audit establishes a baseline for all future label management.
2. Preservation Techniques: Keep Labels Intact
Many parents make the mistake of peeling off labels to prevent children from picking at them. However, this destroys valuable data. Instead, apply a clear, removable adhesive cover (like clear packing tape or specialized label protectors) over the label. For soft toys, sew a small fabric tag with the same information. For plastic toys with embedded labels, avoid using harsh cleaners that might damage the print. Store instruction manuals and packaging inserts in a labeled binder or digital folder. If a label must be removed for cleaning, use a hairdryer to gently heat the adhesive, then peel slowly. Relocate the label to a sticker sheet kept in a "toy file."
3. Categorization System: Labels as Organizational Tools
Use labels themselves to create a classification system. For example, attach color-coded sticker dots to the back or bottom of toys: green for age 0–2, blue for 3–5, yellow for 6–8, red for 9+. Alternatively, print small labels indicating the toy category (e.g., "blocks," "art supplies," "board games") and affix them to the corresponding storage bins. This method ensures that when children return toys to bins, they reinforce sorting habits. Additionally, place a master list of labels on the inside of a closet door or playroom cabinet. This list should correlate bin contents with label colors or categories, making cleanup intuitive even for younger children.
Managing Labels in Retail Environments: Accuracy and Efficiency
4. Standardized Labeling Protocols
Retailers face unique challenges: high volume, frequent price changes, and strict safety regulations. Implement a uniform labeling standard using barcode scanners and label printers. Every toy should have a UPN (Universal Product Number) and a human-readable description. Train staff to apply labels on a designated area of the packaging (e.g., bottom right corner of the box) to avoid obscuring safety warnings. Use durable, smudge-resistant label materials. For clearance or seasonal toys, use temporary labels that can be removed easily without residue. Conduct weekly spot checks to ensure no labels have fallen off or been tampered with.
5. Digital Integration: The Power of Inventory Management Software
Manual label management is a recipe for errors. Invest in inventory software that syncs with point-of-sale systems and tracks label changes in real time. When a toy is recalled, the software can flag its label instantly and generate a removal list. For customer returns, the software should verify that the label matches the product in the system. Additionally, use QR codes on shelf labels that link to product details, safety certificates, and even assembly videos. This reduces the need for multiple physical labels and empowers customers to self-serve. Regular audits of the software database ensure that digital labels stay current.
6. Labeling for Markdowns and Promotions
Retailers often struggle with temporary promotional labels that compete with original labels. Use a dedicated label color (e.g., neon orange) for discounts and ensure they are placed slightly offset from the original label—never covering it. At the end of a promotion, remove all temporary labels systematically. Train employees to "scan and remove" during markdown events: scan the toy, print a new price label, apply it, and discard the old one. This prevents confusion at checkout. For items with multiple SKUs (e.g., same toy in different colors), use sub-labels under the main label to avoid clutter.
Digital Solutions for Toy Label Management
7. Mobile Apps and Home Scanners
Technology simplifies label management significantly. Apps like Sortly or Home Contents allow you to photograph toy labels and organize them into digital folders with searchable tags. You can add custom fields such as "storage location," "condition," or "replacement cost." When a label is damaged, the app stores the original image. For larger collections, a barcode scanner attachment for a smartphone can instantly pull up product information from online databases. Some apps even alert you when a toy has been recalled based on its label data. This digital backup is invaluable for insurance claims or when selling toys secondhand.
8. Cloud-Based Label Templates for Consistency
If you frequently create custom labels (e.g., for home-made toy bins, classroom materials, or garage sales), use cloud-based design tools like Canva or Avery Design & Print. Create a master template with your preferred font size, color scheme, and information fields (item name, age, category). Save it and share with family members or coworkers to ensure consistency. Print on adhesive label sheets designed for your printer. For plastic or fabric surfaces, use label sheets that are waterproof and removable. Always test a sample on a scrap surface before committing to a full run.
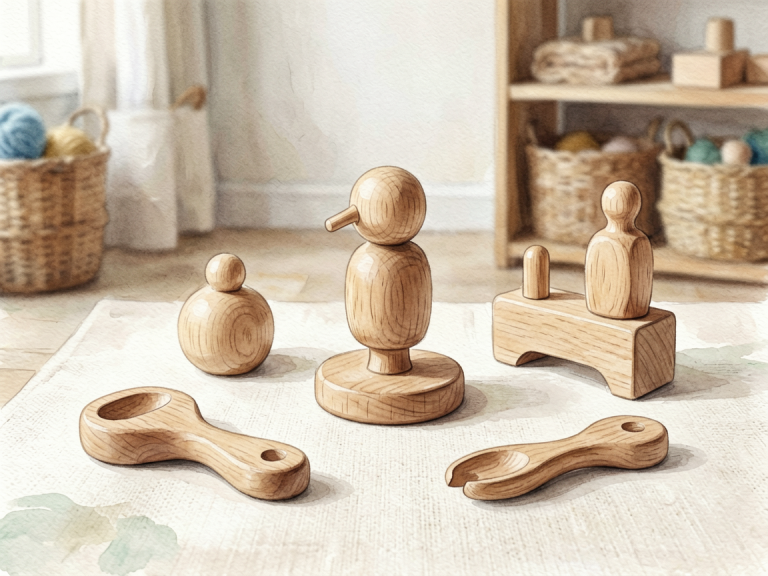
Special Considerations for Collectors
9. Preserving Original Labels for Value
Toy collectors know that original labels significantly increase a toy’s value. However, labels on vintage toys are often brittle or discolored. Never attempt to clean them with water or solvents. Instead, use a soft, dry brush to remove dust. Store the toy in a UV-protective display case to prevent fading. If a label is peeling, consult a professional conservator; do not use household glue which can cause irreversible damage. For loose labels that have fallen off, place them in a clear archival sleeve within the storage box. Document the label’s original position with a photograph. When selling, include high-resolution photos of the label as proof of authenticity.
10. Labeling Collections for Insurance and Estate Planning
Collectors should photograph every label along with the toy, then store these images in a secure cloud service and on a physical hard drive. Create a spreadsheet detailing each toy’s brand, model, estimated value, and label condition. Update this spreadsheet annually. For high-value collections, use tamper-evident label stickers (e.g., holographic strips) on the toy’s packaging to deter theft. If you loan toys to museums or exhibitions, attach a temporary label with your contact information inside the packaging, never over the original.
Conclusion: Turn Label Management into a Habit
Managing toy labels is not a one-time task but an ongoing practice. Whether you are a parent trying to keep the playroom orderly, a retailer ensuring smooth transactions, or a collector safeguarding your investment, a systematic approach pays dividends. Start with an audit, choose preservation methods, implement categorization, and embrace digital tools. The time invested in label management will save you hours of searching, frustration, and potential safety risks. Moreover, it teaches children respect for organization and details. So, the next time you pick up a toy, pause to consider its label—you might be surprised how much order you can create from that tiny piece of paper or plastic.
—
*Word count: 1,284*